My blog has moved!

You should be automatically redirected in 1 seconds. If not, visit
http://www.vivatveritas.com/blog/
and update your bookmarks.

April 21, 2011

40 weeks - baby is here!


Hello everyone! I'm happy to announce that my baby is here! She was born on April 17th morning, all healthy. It was a day before the due date, and the delivery took 12 hours...I will share the birth story sometime when I'm more settled down. We stayed at the hospital for 3 nights after she was born, and I decided to leave one day early. I felt like I had enough of hospital life, and I'm much happier to be back home, with my husband:) Thank you all for prayers and thoughts!

Thank you for those of you who gave me advice on what to bring to the hospital - it was really really helpful! Lots of drinks, lip balm, and socks were my friends while I was suffering with contraction pain.

Now I feel a bit sentimental that my pregnancy is over (you can read my week-by-week journey here), but I'm thinking of continuing the series as mama series on Thursdays perhaps? Any suggestions?


P.S. Hope you enjoyed the guest posts by Anna and Nette! More guest posts coming in the next few weeks...:)

April 20, 2011

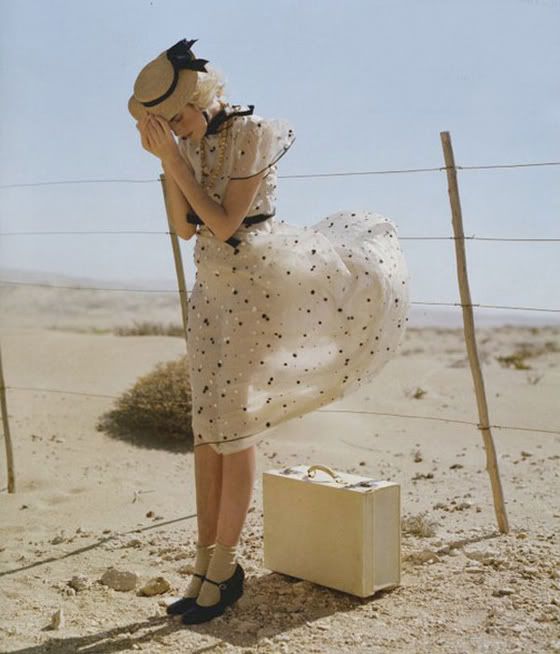
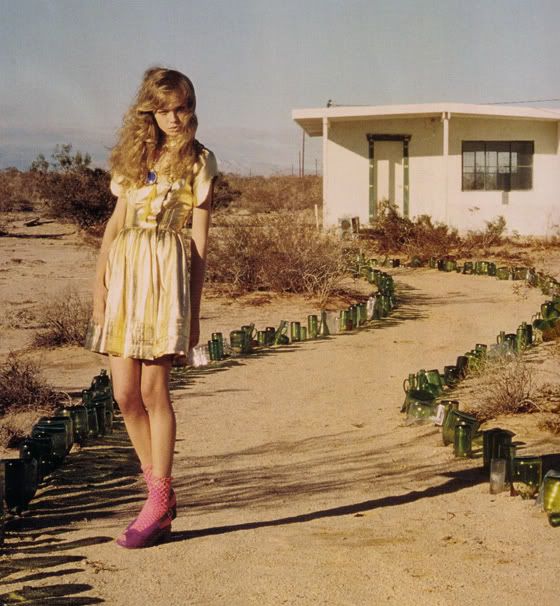
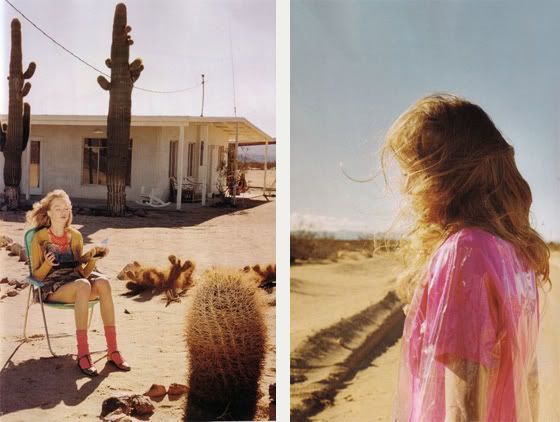
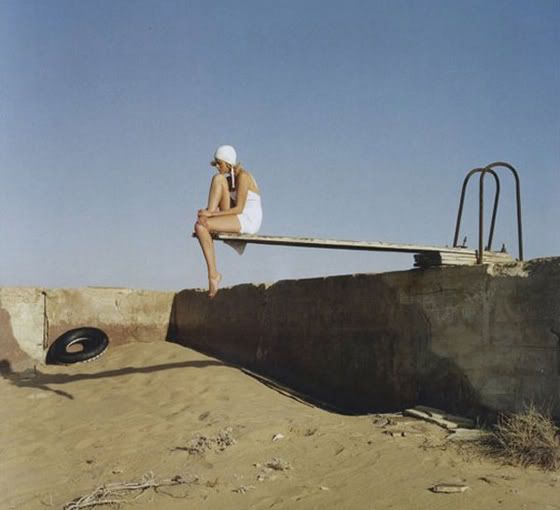
Inspiration: Theme desert

All images via Liebemarlene Vintage

When I am making clothes for a photo shoot, I like to come up with a certain "theme". In February, a photographer Amelia and I worked on a shoot with a theme "Secret Garden". My next upcoming photo shoot's theme is "After the carnival", where I want to capture some images with bright sky, and Ferris wheel in the background with bright solid color clothes, such as juicy orange, bright yellow, or sky blue. At dusk, I want to have some photos taken with some melancholy feel, with a bit of sadness that the carnival is over. As props, I would love to incorporate balloons, big lollipops or cotton candy... 

I just read at Riannon's blog that she was planning a shoot with a theme "Heroines in the desert", and I thought the theme is so cute! I love the inspirational images she collected.

April 19, 2011

Guest blogger: Free PDF downloadable bag pattern by Nette

Hi everyone. My name is Nette and I am from Germany. It is so nice to meet you! Usually, I write a blog over at nettevivante all about my sewing projects and other creative output. Anyway, you might wonder why you do not get to read anything by lovely Chie?! That is because she asked me to write a little guest post for her readers, while she is taking a break welcoming her little baby girl! 
Having been inspired by Chie’s beautiful dresses for a long time already, I was really flattered to be able to jump in for her! Thank you Chie! ❤
This is a double premiere for me. Not only because this is my very first guest post, but also because I intent to keep you busy during Chie’s absence with my very first self drafted epattern and how-to.

So today I am presenting you a pattern for a simple, yet, highly versatile tote bag. I made several versions of it for ‘Pay it forward’ and am so glad that Chie is going to use hers for the baby! ;)
As you can see, this bag is just full of endless possible variations and I hope you are going to enjoy letting your mind wander and making one!
If there are any questions, leave them as comments here or on my blog, I would love to help you out then. AND if you really are making a bag, I would love to see your versions! Have a lovely day everybody!
❤Download PDF Eva bag instruction here.
❤Download PDF Eva bag pattern here.

April 18, 2011

Guest blogger: Freehand machine embroidery by Paunnet

Hello, everyone! I’m Paunnet (but you can call me Anna) and I’m very happy to be here while Chie takes care of lovely little Sophia.

Today I’d like to talk to you about a technique I was introduced to about two years ago and that has been inspiring me a lot, lately. It is called freehand machine embroidery (if you’re a quilter you probably know it already) and it allows you to put your designs on anything you want without an expensive embroidery machine.

This is what you’re gonna need:

1.      A darning foot (sometimes called quilting foot): mine didn’t come with my machine, but I bought one for a few euros at my machine dealer. This allows you to move the fabric while you sew and to stitch in any direction you want.
2.      Water soluble stabilizer: it’s a plastic-y film on which you can draw you design. When you are done, you just wash it and will dissolve. I used Madeira’s Avalon, which comes in a roll of 5m x 25cm.
3.      A permanent marker: make sure it’s water resistant or the ink will bleed on to your fabric when you wash it.
4.      Tape: to tape the stabilizer on the fabric, so that it doesn’t move around.
5.      (Optional) Embroidery thread: I had some in my sewing box, but regular thread works great too.

Now you can choose your design and transfer it or drawing it on the stabilizer. I chose this sketch of three little girl dresses that I found a long time ago on the Internet.

The next step is to prepare your machine: put on the darning foot, set a low thread tension and lower the feed dogs (my machine has a button on the back, check your machine’s instructions if you don’t know how to do it).
Now start following the lines of your design. You’ll need some practice to adjust the movement of the fabric and the speed of the pedal, but it’s not too hard to get a good result. If you really can’t figure it out, there are a lot of Youtube videos in which you can see the machine in action, which might be more useful than my written explanation.

In the picture you can see I finished the the first part and I left a long tail before cutting the thread and moving to the next little dress.

Once you have finished, turn your fabric, with the help of a seam ripper, pull the threads on the wrong side and knot them, so your design won’t unravel.
Now you’re almost done! Rip the stabilizer and wash away the remaining.
I used my little dresses to make a zippered pouch (and I made a matching pencil case with an ice-cream design that I found here).

Aren’t they cute? They are for sale in my Etsy shop.
I also decorated a plain t-shirt with some butterflies going from the front to the back.
                                                            
I hope this little tutorial will inspire you to create something beautiful. If you try it, I’d be delighted to see your results!

April 16, 2011

Scrap heap project: Completed 1

So I finished three dresses using my scraps - as you can see, these are not really scraps at all, since the fabrics were big enough for me to make dresses for an adult:p Sorry the design of the dresses are nothing new, but I wanted to make something easy and fun to sew for the time being. More new designs are coming up soon...:)

I love the white flower buttons I used for Project 1 and 2. I found them on etsy, a shop named "Forsythe Company Store".  The shop has a good selection of vintage buttons and other cute stuff, and I found the prices to be very reasonable.

I listed these items for sale on my etsy shop - and for my lovely blog readers, I set up a coupon code "SCRAPHEAP" for 20% off of all items listed in my shop:) The deal will last until I finish the scrap heap project!

April 14, 2011

39 weeks


Hello All!
Week 39, oh boy!  Its a strange feeling to look at my bump and think that soon it will be gone.  Some days I waddle downstairs and think that I can't wait for this thing to be gone and other days like today I think that I am really going to miss this big watermelon.

In the first picture I wanted to see how many items I could get to balance on Kiko.  It was harder than I thought and I only was able to balance 2. 

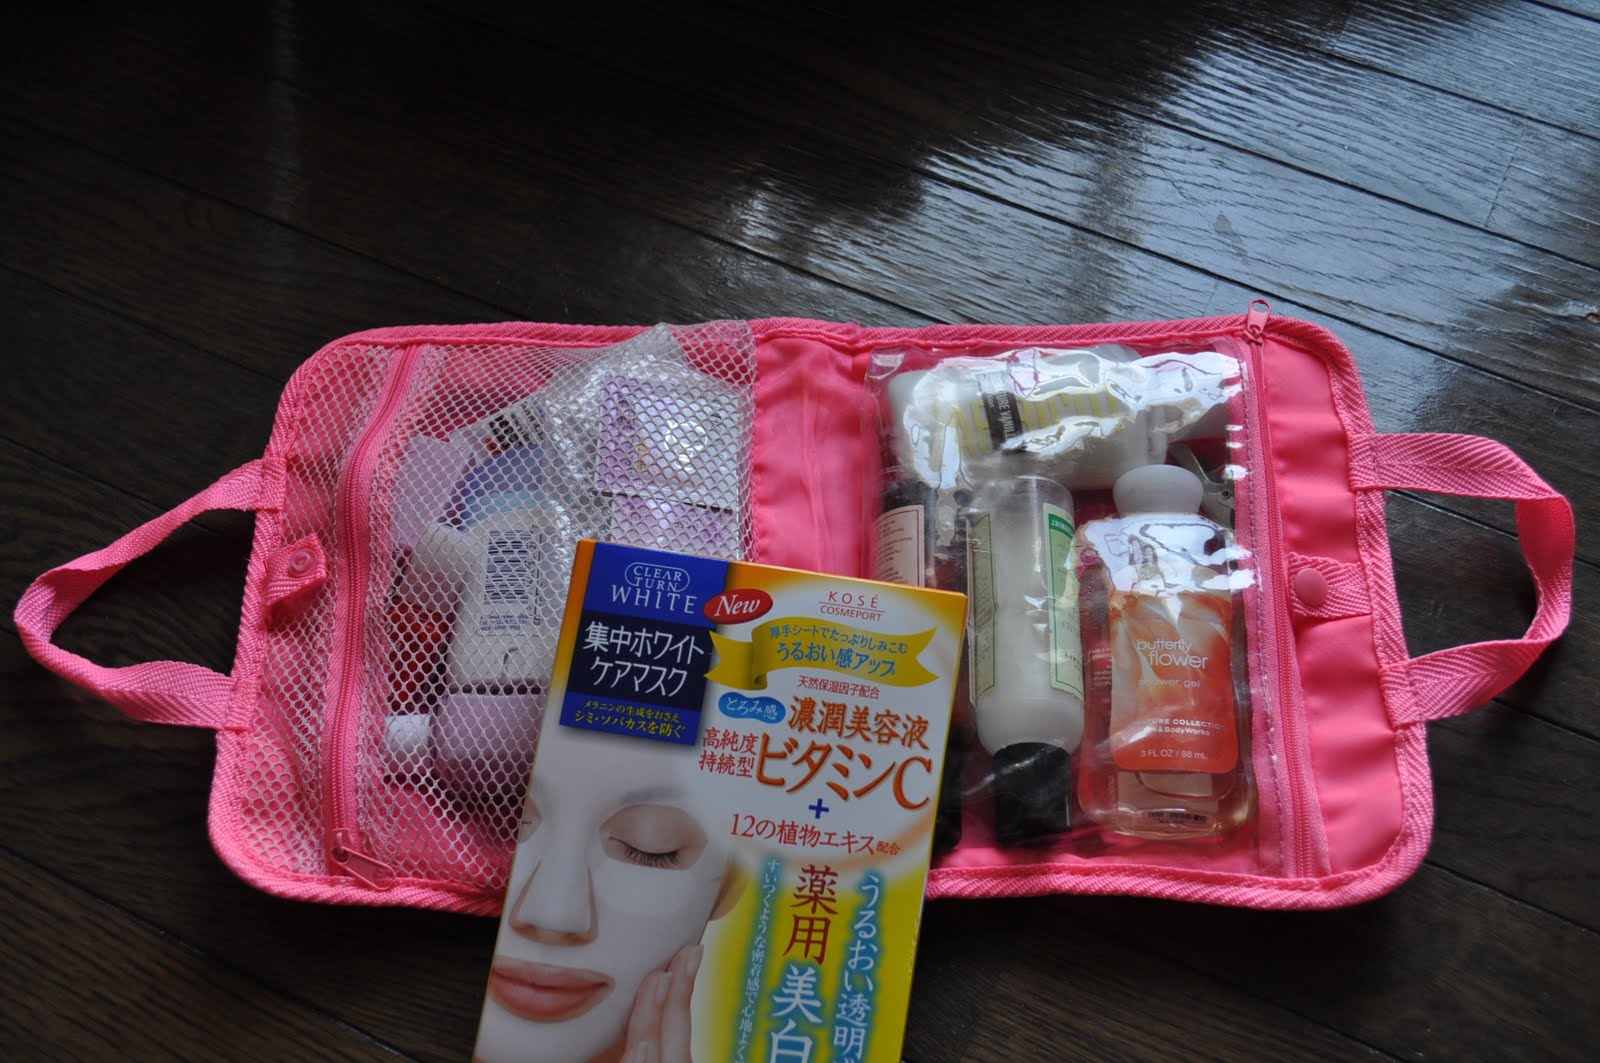
Below is the stuff that I have packed and ready to go for the hospital.  In the States they recommend having a "Go Bag" but in Japan you dont have to bring anything because it is all provided, even the toothbrush.  But, because I like my own stuff I am bringing my own bag.  This seems particularly important because here in Japan I will be in the Hospital for 4 or 5 days.  I can't  imagine wearing hospital pj's for 4 days.  I packed some clothes for the baby, some clothes for myself, reading material and makeup.  What did you guys have packed in your bag? Any recommendations for things to do with my 4 days in the hospital?

xo

April 13, 2011

Inspiration: Art & fashion


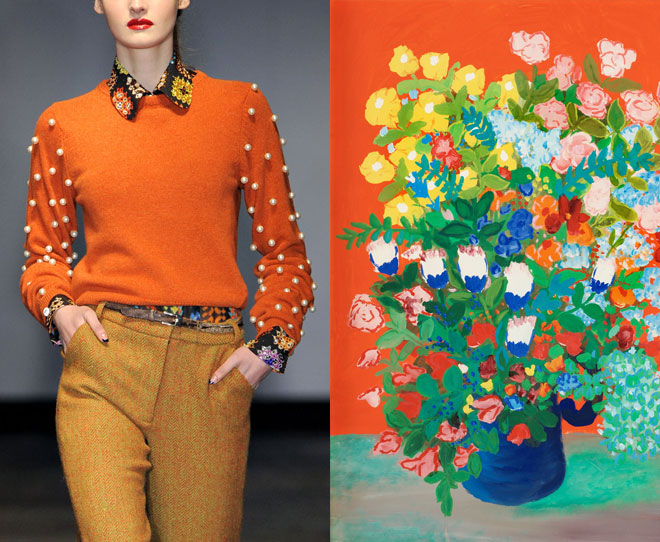
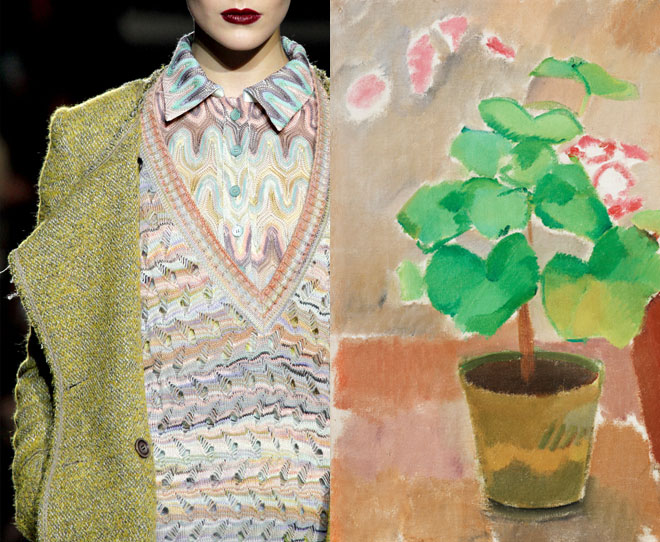
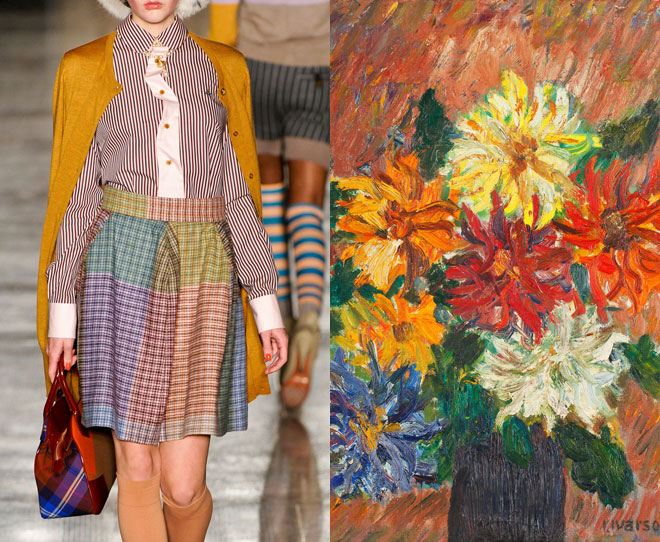
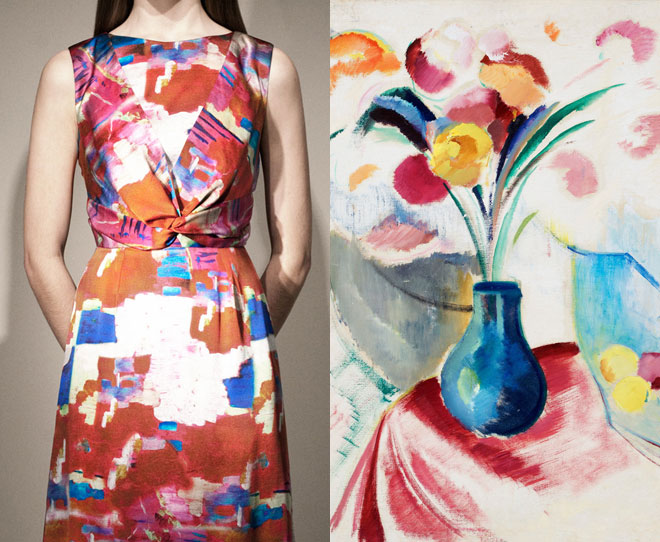
 All images via Miss Moss: Fall vs Spring

I thought how Miss Moss compared the art still images and her favorite collections was so interesting. She made great matches! I'm not really a big museum goer, but her post inspired me to look into art as a source of inspirations for clothes designing.

April 12, 2011

Braided hair tutorial

I've been doing different hair arrangement using braids lately. I like this one since its easy yet looks like I spent more time on it than I actually did :p I hope you like the tutorial!

1. You need two elastic bands and a couple of hair pins.
2. I like to start by curling my hair slightly with a curling iron, but this step  is totally up to you! I think this braided hair is great with straight hair, wavy or curled, as long as your hair has enough length to wrap a braided piece around the back of your head :)
3. First part your hair in the center. Then take a strand of hair right above your ear, leaving your bang, if you have it.
4. Then braid tightly.
5. Braid till the end, and tie it with the elastic band.
6. The side will look like this.
7-8. Do the same for the other side.
9. Take the braid, and wrap it around the back of your head and pin it right behind your ear. Make sure to hide the end under your non-braided hair.
10. Do the same for the other side.

And tada! It's so easy and takes less than 3 minutes:)

April 11, 2011

Scrap heap project: Progress 1

I wrote about the scrap heap project that I will be working on during my maternity leave. Actually, before I start my leave I already jump started the project:p It's coming rather slow, since I'm trying to experiment different techniques that I usually avoid when I'm busy, such as pin tucks, and lace insertion.
I got the idea for the lace insertion from this Colette Pattern post. I made a lace insertion on the skirt hem, just like Sarai did for her dress. I think it turned out lovely, but was disappointed after I completed the skirt, because the zipper I used was too short and there was no way for any skinny person to put her butt in! This is what happens when you are pregnant and can't test the project as you sew.. So I asked Andy to take out the zipper for me (He is great at doing it! I hate de-stitching seams), and tried again with a longer zipper. And guess what happened? The zipper broke while I tried to put the skirt on my dress form. Ha. So I gave up! The skirt is still incomplete:( 

Anyway, going back to more positive side - I love Colette Patterns blog! I am always inspired by their ideas and introduction to different techniques. I think Sarai's post on surface cording, piping, bias binding and layers of lace is so pretty!

What did you guys work on this weekend?

April 9, 2011

Have a great weekend!

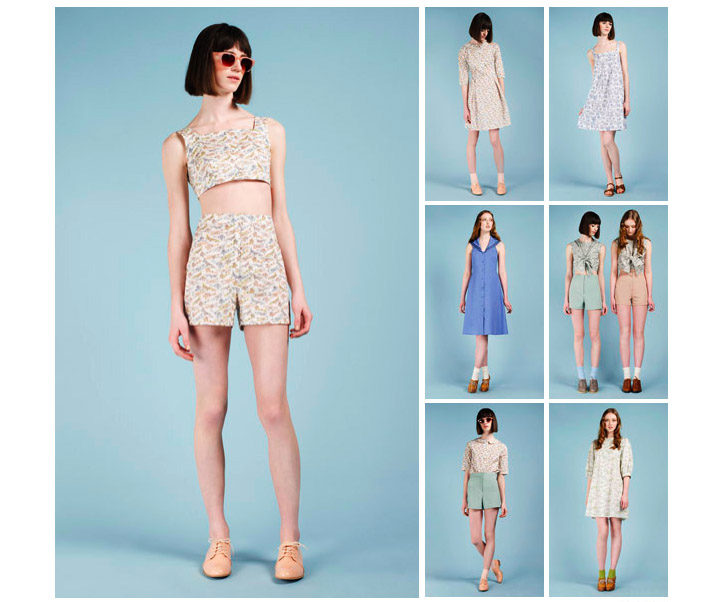
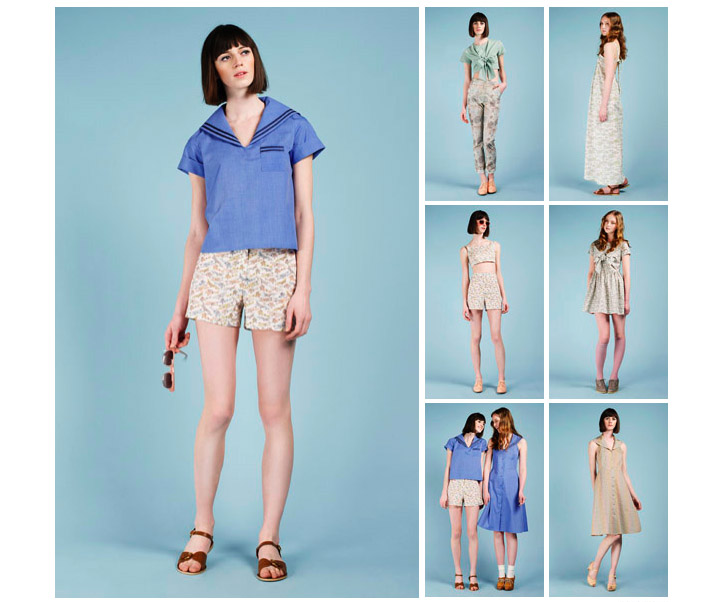
Hello! I could not squeeze in the time for Friday blog post yesterday, and I know I usually do the inspiration posts on Wednesdays. However, I thought this pretty Nadinoo SS11 Lookbook will complete the week and I could not wait until next Wednesday to share these lovely images!  I'm always so excited to see what this UK designer comes up with!

Hope everyone has a wonderful weekend:) xo